
COLD BREW FREEZE POPS
Oh! This one is fun. Perhaps you recall from your youth a form of summer-dessert variously called a Freeze-Pop, Freezie, Otter Pop, icy-pole(?!), or JuicePop. They were cold, individually-portioned so you didn’t have to share with your sibling, and sugary as hell.
It’s hot out now, and I’m not purely sugar-motivated anymore, so freezepops don’t quite appeal to me in the same way. On this page I’m sharing an experiment in which I tried to gussy up this classic dessert into something I, an adult snob, might like.
The result is a pretty easy and satisfying and impressively caffeinated dessert we’ll just call Cold Brew Freeze Pop. (I sure hope Freeze-Pop is not a trademark, but if it is, then this is parody. That’s how that works, right?)
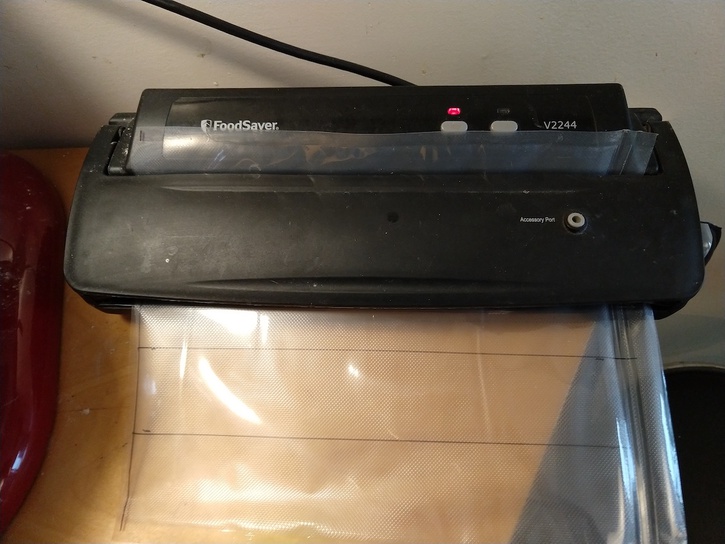
For this recipe you will need a vacuum-sealer kitchen gadget. It does not matter which one, and we’re actually not even going to use the vacuum function, just the heat-sealer.
The Process
- Using the sealer, measure out and make several sheets of freezepop molds
- Mix up as much coffee as you’d like.
- Prepare your filling station and containers before you start filling them up. Once you’re holding full sheets of freezepops it’s…inconvenient to find a place to set them down
- Fill, seal, and store in freezer
The Materials
- Vacuum-sealer of just about any kind
- Roll of vacuum-sealer bags
- 2 cups cold brew (I like Grady’s)
- 1 cup sweetened condensed milk (bodega stocks Magnolia)
- Knife
- 2 hooks, like for hanging pots; could also use nails, or make hook-loops out of any wire you have around
- Icing Piping bags, or just any plastic bag with the corner cut (here’s what I have, they come in handy all the time!)
Making the Sheets
This process works because we carefully measure the width of the heating element in the vacuum-sealer, making sure that when we cut the sheet of vacuum-bag from the roll, we cut it short enough to be fully spanned by the heating element. I emphasize this because I’m accustomed to always erring on the long side when cutting vacuum-sealer bags, because it sucks to have bulky food not fit, or have to manhandle the food to get it to fit in a slightly-too-short bag.
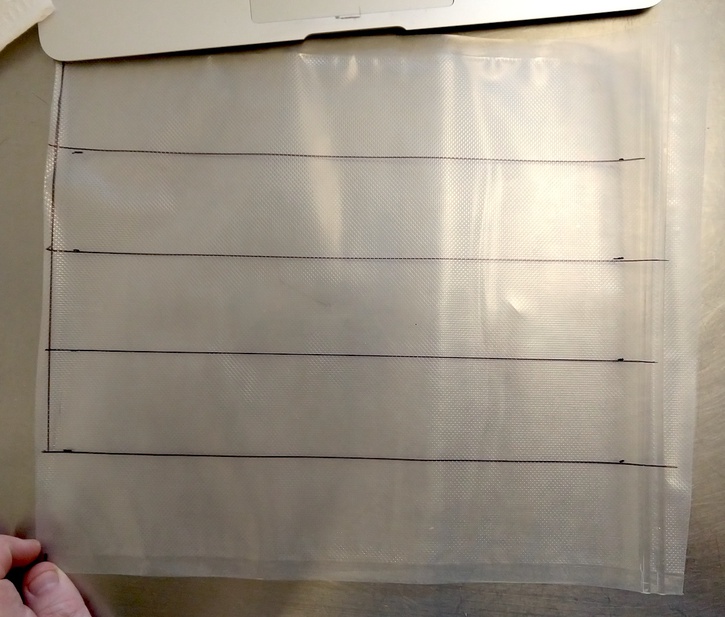
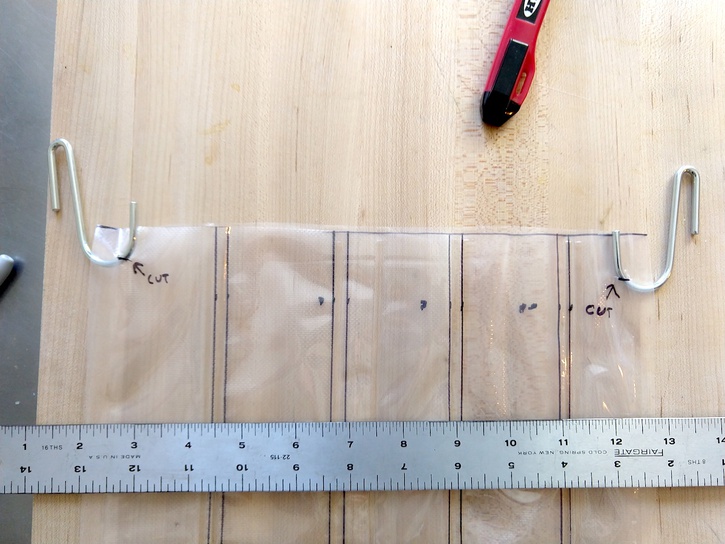
Cutting to length
My sealer happens to have a mouth that is about 12 inches wide, so that’s the length of bag I cut - this is important because we neet the vertical heat-seal seams to go all the way up the bag, otherwise the pops will leak.
You don’t need to use a ruler, though, just line up the unrolled sheet with the heat-sealer and cut there.
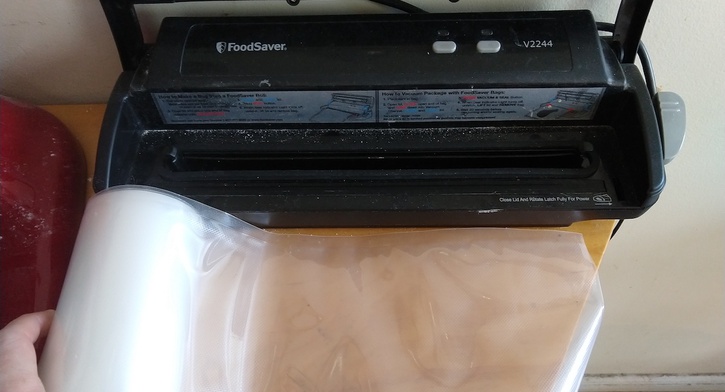
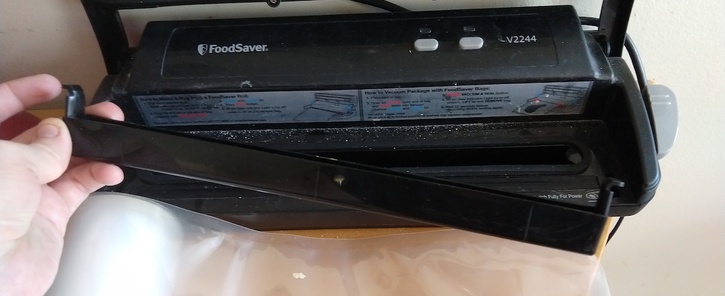
While you’re at it, remove the drip tray if your sealer has one—we don’t need this because we’re not using the vacuum function, and removing the tray will make it easier to move the sheet through the sealer in the next step.
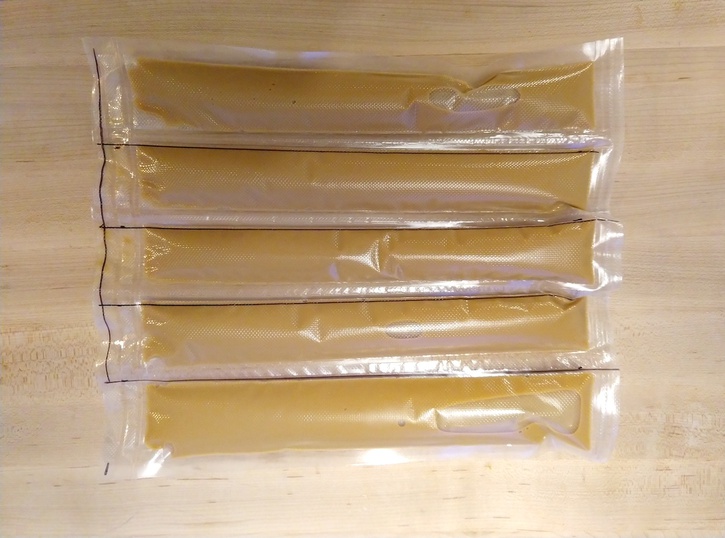
Marking vertical divisions
I found it slightly tricky to keep the sheet perpendicular as I fed it through the sealer, so adding some Sharpie marks is really helpful (and will also help guide you when you’re separating them pater for individual consumption). I chose a width of 2 inches, but this can vary; the important parameters are the width of your mouth (shouldn’t be wider than that, obv) and your dexterity (it gets trickier to stay perpendicular as you make narrower channels, and they are harder to fill).
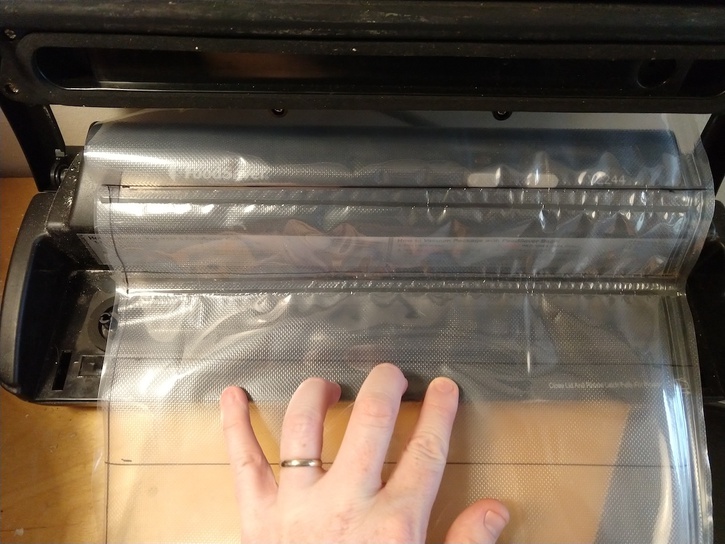
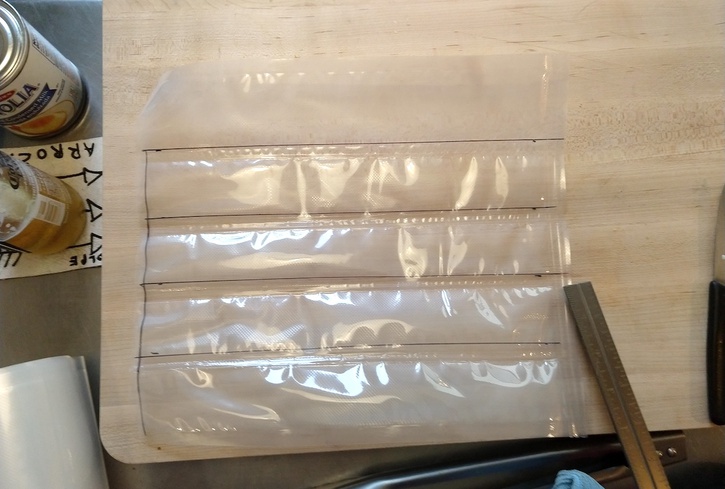
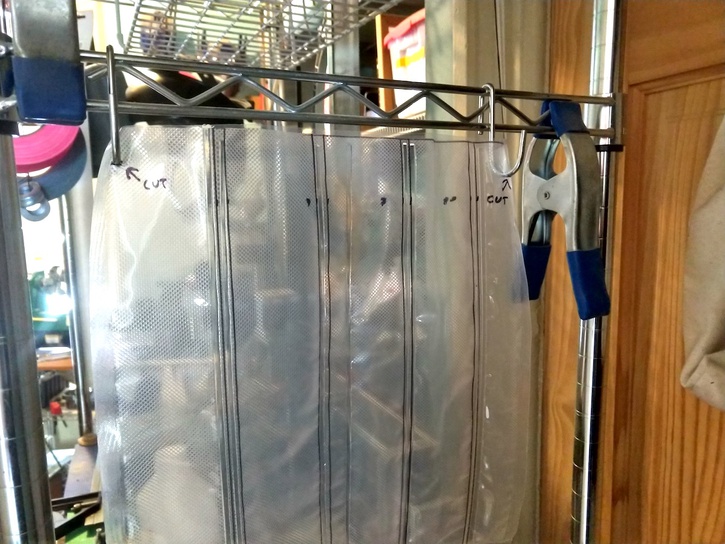
Making the channels
Here’s the only trick in the whole recipe! Rotate the sheet 90º and feed it through the sealer, sealing at each line you marked out. Importantly, you are going to seal twice at each mark, nudging the sheet along between each seal. This is critical because it gives you space between each pop for you to cut. I tried to get away with just one seal, but the seam my sealer creates just isn’t wide enough to cut along, and it’s not strong enough against the pressure of the expanding freezepop mix. If I’m being honest, I actually seal around each mark 4 times—I go through the heat cycle on each mark twice bcecause I’m paranoid about seals breaking…
…see how we’re lining the marks up with the heat-seal strip?
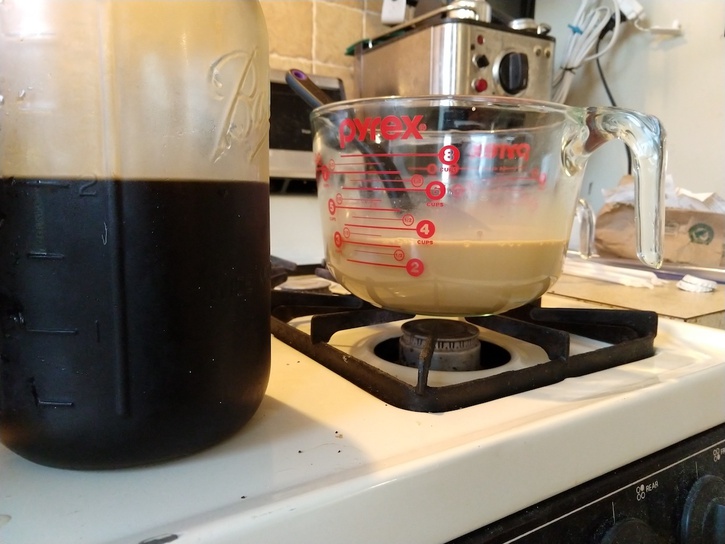
Mix up your coffee
This is the least inventive and most flexible part of the recipe. To keep things simple, and because this was a test run, I just mixed the cold brew with sweetened condensed milk. Recipes I found online recommended a 1:1 ratio, but that was way too sweet for me; I ended up going with a 2:1 ratio. Because all recipes have this in bullet-point format, that’s:
- 1 can sweetened condensed milk (which is 1 cup)
- 2 cups Grady’s Cold Brew, diluted per their instructions.
…see the end of this page for more ideas for mixes and fillings, the only limits are your imagination/determination.
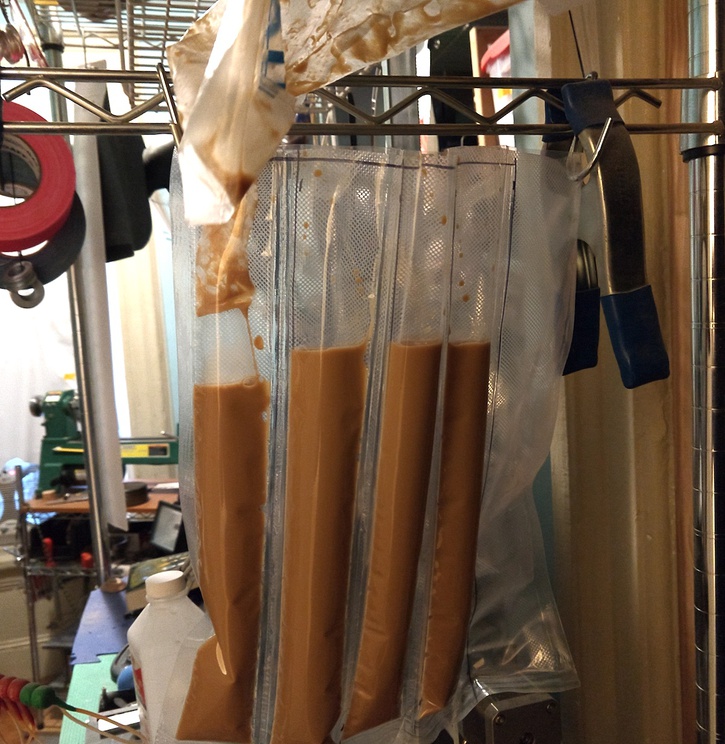
Set up filling station
OK! Now we’re ready to fill each pop and seal it up. If you have a Friend, this can go way faster—just ask them to hold the sheet while you fill it up. If you’re Alone, or doing this late at night and don’t want to wake anyone up, proceed:
The goal is to hold the sheet upright and relatively taut; if it flops around while you’re filling it you’re likely to spill some, or at least swear more than necessary.
I pierced two small holes way near the top of the sheet and used hooks to hold the sheet; I also set up a spill-catcher below because to be honest, I expected this to end up all over the floor.
Note, though, that I didn’t just use the hook to pierce through the plastic—I used a knife, and I cut horizontally so that if the tear propagated, it wouldn’t immediately reach the top of the bag and dump everything on the floor. Everything went fine, though!
Fill the filler
I cut off the tip of a piping-bag and clamped it shut with a binder clip.
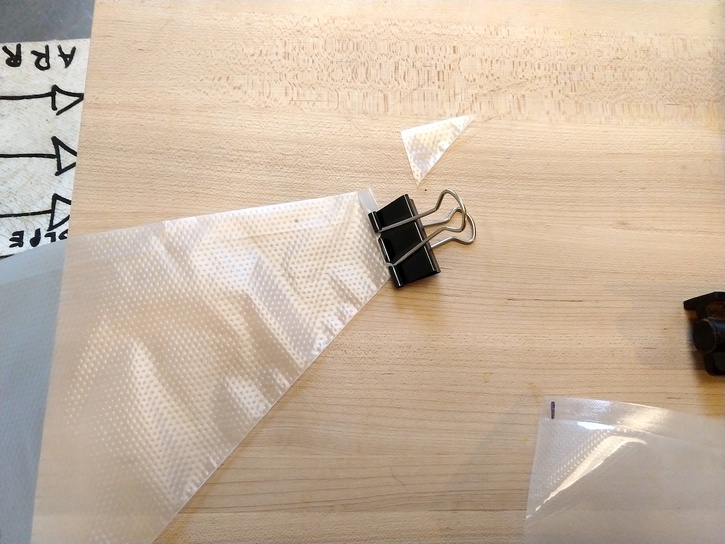 I wanted to be able to fuss around without spilling the piping-bag, so I filled it and then heat-sealed the top so the tip was the only exit point. Having a heat-sealer around is fun and handy!
Filling!
This went more smoothly than I thought. One thing that helps is to put the piping-bag tip pretty far down into each channel before you start filling; this makes sure you have enough room at the top to heat-seal the whole sheet shut, and also keeps fluid away from the part you’ll be sealing (having fluid there complicates, but does not doom, the heat-sealing process; you may have to seal a couple of times if it’s very wet up there).
If you happen to have a wee little funnel, that will help here as well.
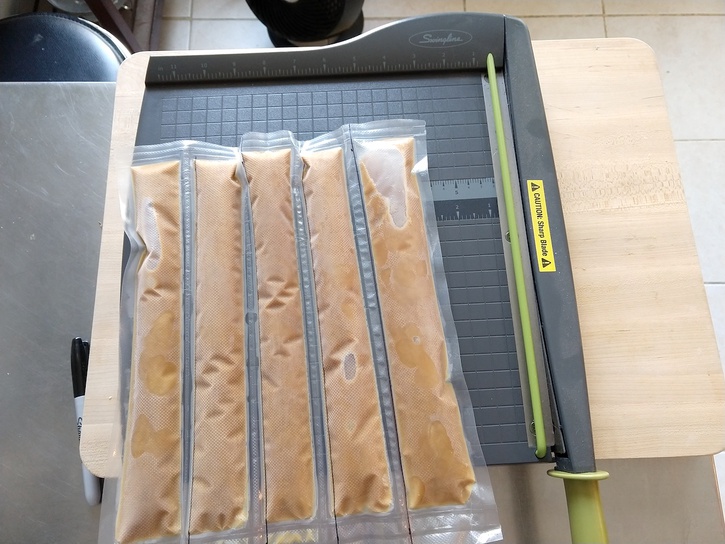
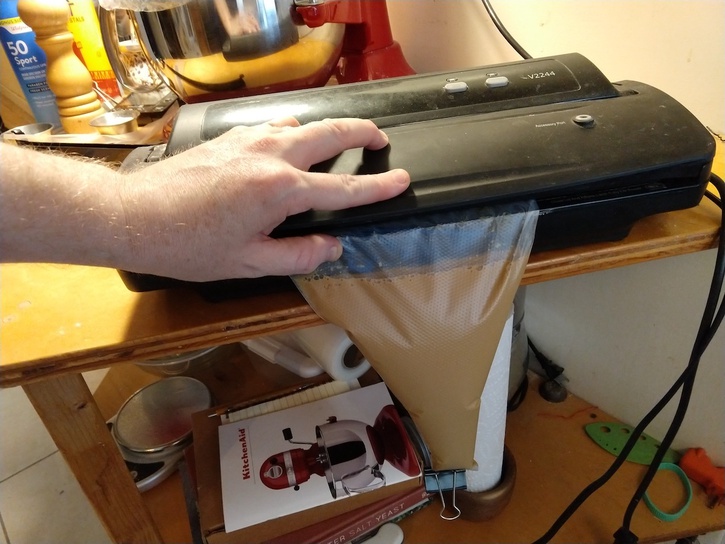
Final seal
Once all the channels are filled up, leaving about an inch at the top, head back to your heat-sealer and make the final top-seal, which should cut across the seals that form each channel. For this step it’s really handy to have your heat-sealer at the edge of a table, since the sheet has to be held vertically to seal without spilling. I found cradling the sheet on the back of my arm was a good way to keep the sheet flat while I activated the sealer.
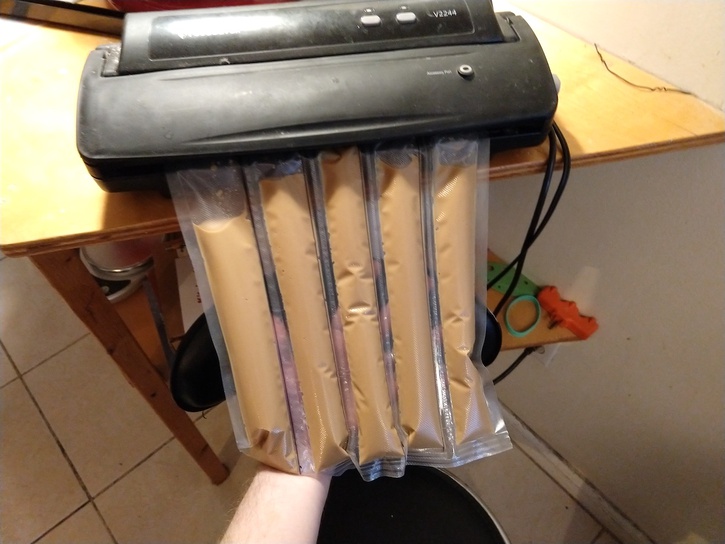
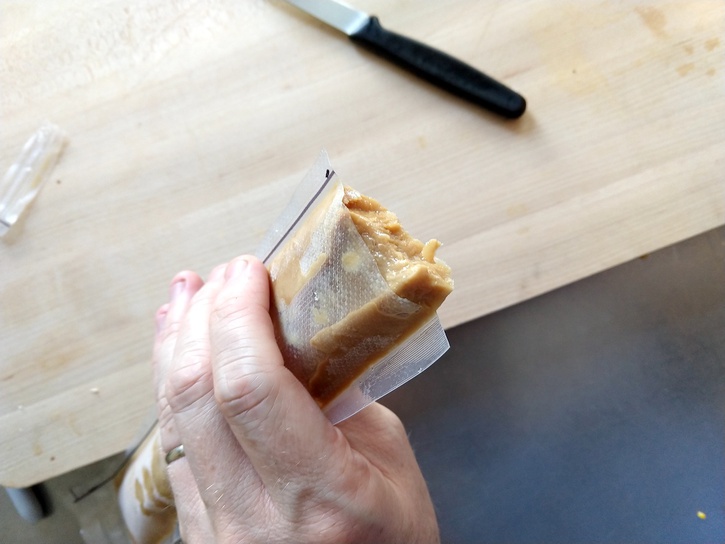
Freeze those Pops
After a night in the freezer, they’re ready to go—separate each pop using scissors or a paring knife, and serve. If you’re giving these away or serving them at an event, you could make a little nick on the side of each pop, so your guests can open them without needing tools.
Riffs and Tips (i.e., booze)
Since the servings are individual, you can get creative! Each pop can be a little custom experiment. If you do this, consider marking each experiment-pop with a Sharpie so you can keep track of which ones worked best (and avoid feeding your neighbor’s kid the one you spiked with Amaretto). Some ideas:
- Try different coffee-to-milk ratios; 2:1 coffee to milk is double the coffee recommended in other recipes, and I still thought it was a bit too sweet/cloying.
- Obviously you have been thinking about liquor this whole time, so yeah add in some booze if that’s your thing (not too much, it’ll inhibit freezing)
- Warm up the milk and infuse it with cinnamon/nutmeg/allspice, or even some cayenne. This might be a mistake!
- Try adding in those delicious lil tapioca balls for some texture-variation.