Sourdough Bread - process and improvements
Since September, I’ve been fascinated with breadmaking, especailly levain- and sourdough-breadmaking (that is, without commercial yeast). Like many of my interests, it began via a Youtube wormhole: there are innumerable videos explaining breadmaking, often with substantially contradictory advice. Eventually I found the channel of this guy, who I find strange, and strangely compelling. Because I was interested in getting a sense of how the variables work, I hewed to only one recipe for many months.
I now realize that not only did I choose a pretty tricky subset of baking (maintaining a starter remains one of the hardest parts, even after 6 straight months of practice), that particular recipe is about 80% hydration, which makes it all the more tricky to proof and shape without degassing or otherwise ruining it.
I had many frustrating “pucks” result from various factors, but the dominant failure mode was that I could not successfully recognize when a starter was ready to use. This took ages to figure out, and I’m still not certain that’s really what was going on.
Things started getting more consistent when I read Ken Forkish’s excellent “Flour Water Salt Yeast,” which treats environmental temperature and time as separate ingredients, each worthy of modulation and control. This makes sense to a process-control person like myself, so I’ve been practicing his Field Blend #2 recipe for the last few months. I make one substantial change, which is that I omit the 2g commercial yeast he calls for, opting instead to allow the bulk fermentation to progress another 6 hours or so until it has risen sufficiently. This change adds a lot more tang to the bread, which I quite enjoy, but which makes sweeter toppings like jam and peanut butter inappropriate. I’ll have to work on a classic sandwich loaf next.
I still have great trouble with three main things: intuiting the starter’s health and readiness for use; determining when the proofing is complete (without overproofing); and debugging what has gone wrong when a loaf does not come out as expected.
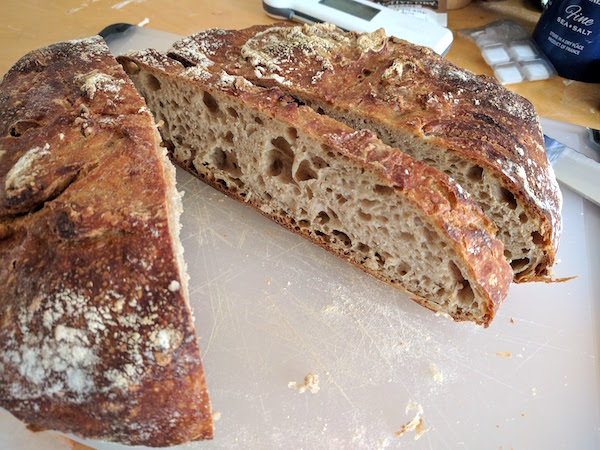
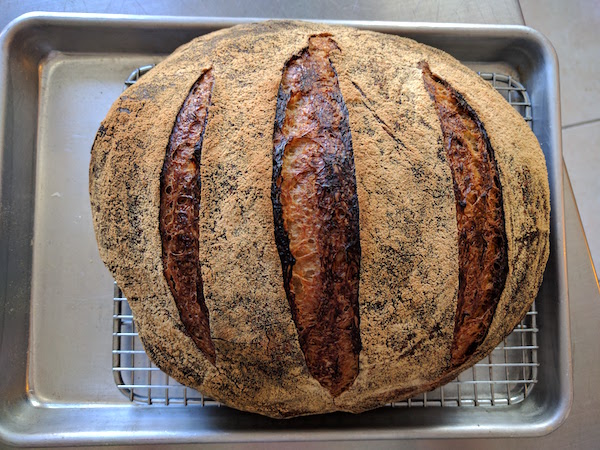
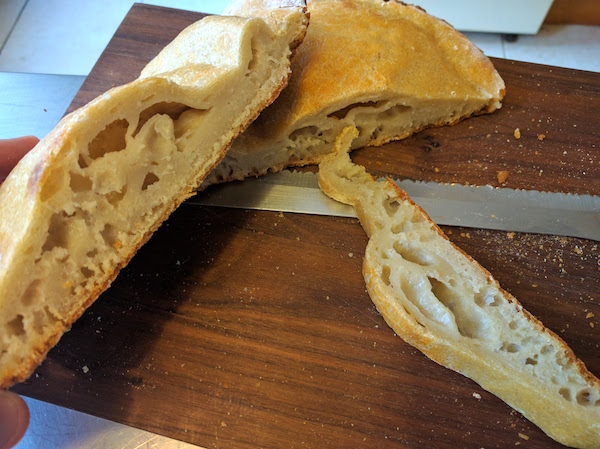
I began by using my starter really prematurely: I would take any little bubbles as a sign that it was ready to add to the autolyse, leading to loaves like the one pictured above, with only a few large internal holes that resulted from gentle folding, and not at all from fermentation activity. Now I think I have a better understanding of when to use the starter, but I still don’t really understand how long the “sweet spot” for use lasts. I took some short videos of the starter at one-hour intervals after feeding at room temperature (about 75ºF), to better see the changes that occur:
90 minutes after feeding.
180 minutes after feeding.
270 minutes after feeding.
…as you can see, I use a “tilt-test” to gauge the quality of the starter’s development. Only when the starter is completely shot through with webby, strong filaments do I use it. This eyeball test is preferable to me to the “does it float” test that many write about online (in which you drop a small bit of starter into water to see if it is buoyant). This wastes starter, and many of my early pucks were due to my drops of starter floating simply because they were small enough…
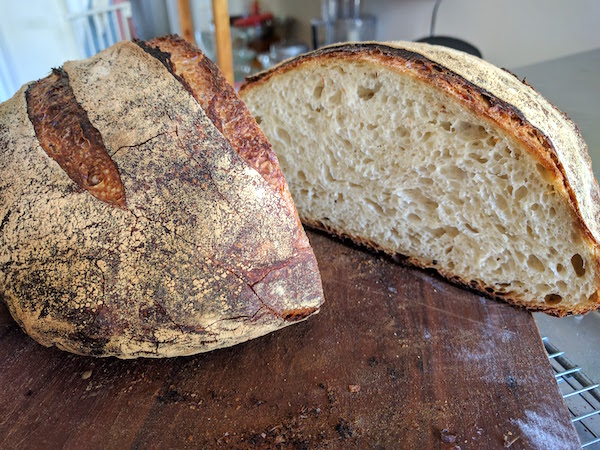
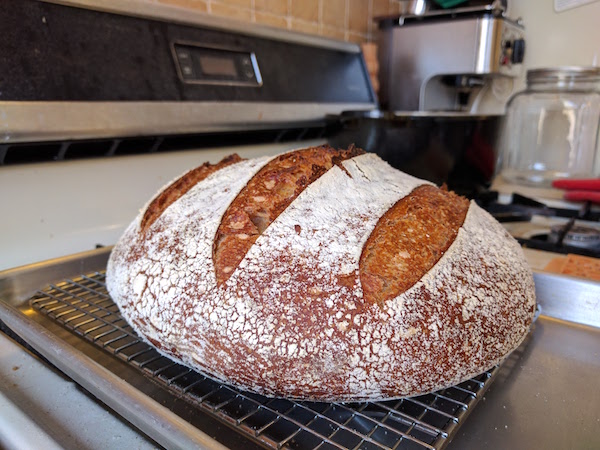
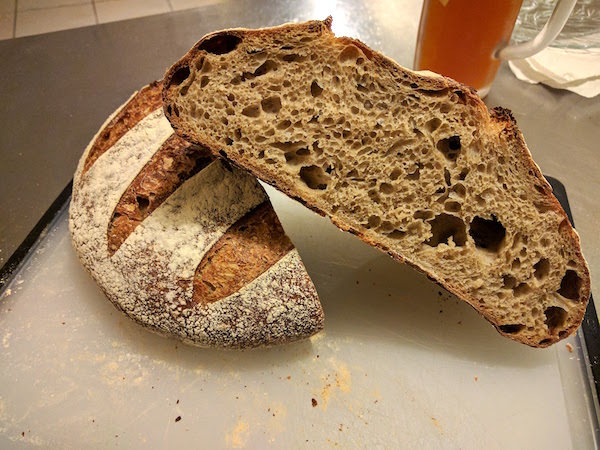
Here are some more successful bread glamor shots: